This is the buying version of an inspection: a 40-minute route around the bike, in the order that reveals the most, with a walk-away list at the end. It is not a maintenance checklist and it does not replace a workshop assessment. It is what you do before you decide whether the bike is worth paying a mechanic to inspect. The journal has a component-first checklist; this one is organised around the purchase decision.
Inspection zones and walk-away faults
| Zone | What you are checking | Walk away if |
|---|---|---|
| Documents | STNK, BPKB, numbers, tax | Numbers do not match or the seller is not the owner |
| Frame and steering | Straightness, welds, head bearings | Creased frame, fresh paint over welds, steering notch |
| Engine | Cold start, idle, smoke, noise, leaks | Knock, heavy smoke, oil in the coolant, no cold start |
| Suspension | Fork seals, shock, linkage, play | Leaking forks, collapsed shock, play in the swingarm |
| Brakes and wheels | Pads, discs, hoses, bearings, rims | Cracked rim, bent disc, spongy lever, grinding bearing |
| Electrics | Lights, horn, dash, charging, ABS | No charge, dead dash, ABS fault light staying on |
Before you leave: prepare the inspection
Ask the seller to leave the bike cold and untouched for at least two hours. Bring a torch, a small tyre-pressure gauge, a rag and your phone for photographs. Bring a friend if you can; a second pair of eyes catches what excitement hides.
Check the listing and the documents before the meeting: the model, the year, the tax status and whether the seller is the registered owner. If the answers are vague online, they will be vaguer in person.
Minutes 0-8: documents and identity
Match the frame and engine numbers to the STNK and BPKB. Check the seller's identity against the document. Confirm the annual tax and ask whether the bike is still financed; a loan that is not settled means the BPKB may be held by the lender.
Look at the document condition. A laminated card with a photo is normal; a loose photocopy and a story is not. If the seller cannot show the BPKB, ask why and treat the answer as part of the price.
Minutes 8-18: frame, steering and bodywork
Look along the frame from the front and the rear. A crease, a weld that looks different from the factory finish or fresh paint around the steering head suggests a crash repair. Check the fork tubes for pitting and the triple clamp for alignment.
Stand the bike upright and turn the bars lock to lock. A notch in the centre is a worn head bearing. Hold the front wheel between your knees and try to twist the bars; movement means loose or worn bearings. Check the side stand, the footpegs and the frame mounts for cracks.
Minutes 18-28: cold start, engine and exhaust
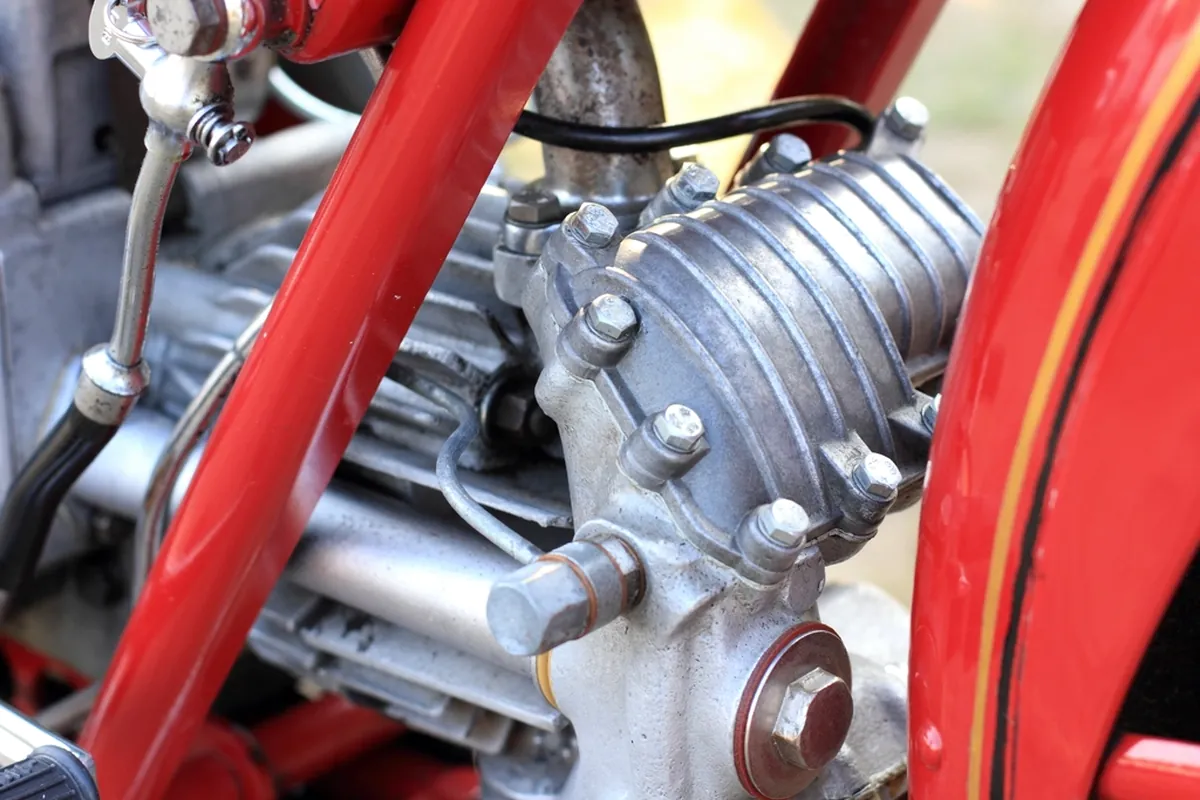
Feel the engine cases before starting. They should be cold. Start it without throttle and listen for the first ten seconds: a rattle, a knock or a hard start is a signal. Let it idle and watch for smoke. Blue smoke that persists is oil; white smoke that does not clear may be coolant.
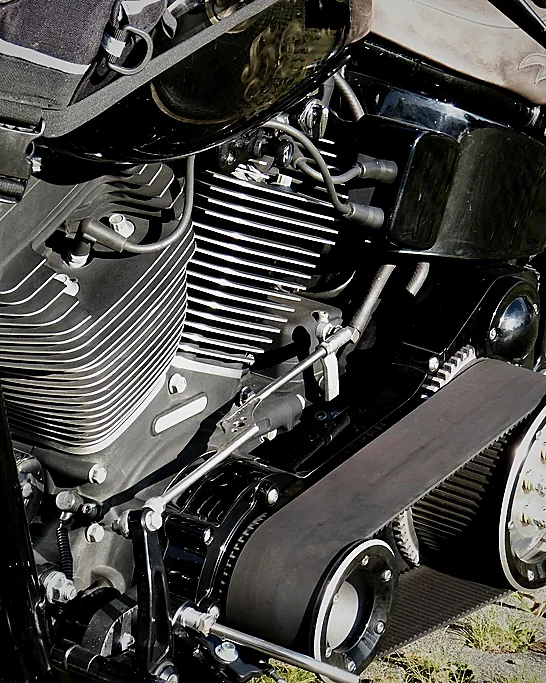
Rev it gently and listen for a chain-like rattle that disappears when you pull the clutch, or a knock that rises with revs. Check the oil level and colour, the coolant level and the condition of the hoses. Look under the engine for fresh drips.
Minutes 28-35: suspension, brakes, wheels and tyres
Bounce the front and rear. A fork that leaks oil, a shock that rebounds without control or a linkage with play is a repair bill. Spin the wheels and listen for bearing noise; check the rims for dents and cracks, especially on low-profile tyres.
Check the brake pads, the discs for scoring and the hoses for cracks. Pull the lever firmly; it should feel firm, not spongy. Check the tyre date codes, not just the tread. A tyre older than about five years should be replaced regardless of tread depth.
Minutes 35-40: electrics and the test ride
Test every light, the horn, the indicators and the dash. Look for warning lights that stay on. Check the charging system if you can: a multimeter across the battery should show a rise when the engine is revved. On an ABS bike, the light should go out after the self-test.
Then ride it. A slow loop in a car park is not enough. Use a road where you can reach 60 km/h, brake firmly in a straight line and ride over a rough patch. Listen for noises that change with speed or load. If the seller will not allow a proper test ride, walk away.
The bottom line
Inspect cold, verify the papers first and ride the bike properly. Any creased frame, knocking engine, leaking fork or mismatched document is a walk-away until a professional says otherwise.IndoBikes workshop
Checklist
- Seller is the registered owner and the identity matches
- Frame and engine numbers match the STNK and BPKB
- Annual tax is current or the arrears are known
- Frame is straight with no creases or fresh weld paint
- Steering has no notch and the forks are not bent
- Engine starts cold without throttle and does not knock
- No oil in the coolant, no coolant in the oil
- Fork seals, shock and swingarm have no leaks or play
- Brake lever is firm and the pads have material
- Tyres are not cracked or aged out
- All lights, the horn and the dash work
- A proper test ride is allowed and completed
Questions
How long should a used motorcycle inspection take?
About 40 minutes for the buyer's check, plus a workshop inspection if you proceed. Rushing the cold start and the test ride is how expensive faults are missed.
What is the most common hidden fault?
Deferred maintenance: worn tyres, a tired battery, leaking fork seals and a belt or chain past its service life. Crash repairs and clocked odometers are less common but more serious.
Should I inspect a used bike in the rain?
You can, but water hides leaks and makes a test ride less revealing. If possible, inspect on a dry day and never accept a warm engine as a substitute for a cold start.
Is a workshop inspection worth the cost?
Yes for any bike you are serious about. A compression check, suspension assessment and fault-code scan can find problems that a visual inspection cannot.