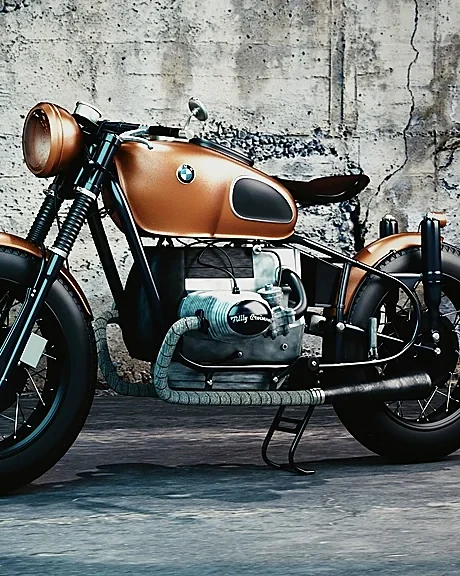
A headlight has to put light where it is useful: down the road, to the edges, and not into the eyes of oncoming drivers. The bulb or LED element is only part of the system. The reflector and lens shape the beam, and the aim sets it on the road.
What it does
The headlight provides forward visibility and makes the bike visible to others. A low beam has a cut-off so it does not dazzle; a high beam throws light further without that cut-off.
The lens and reflector are designed for a specific light source. Fitting a bright bulb or LED into a housing made for another type can scatter light and reduce useful visibility, even if it looks brighter from behind the bars.
How the circuit works
The light source sits at the focus of the reflector. The reflector sends light forward, and the lens shapes the pattern. A shield or a shaped LED chip creates the low-beam cut-off.
Aim is set with the bike on level ground, loaded as it normally is. Small changes in aim make a large difference at distance. Too high and you dazzle; too low and you outrun the beam.
Types and variations
- Halogen. Cheap, simple and easy to replace. Output drops as the bulb ages.
- LED. Efficient and long lived. Needs a housing designed for the beam pattern.
- HID. Very bright, but needs a warm-up and a compatible projector. Not legal in every market.
- Projector. A lens concentrates the beam. Common on modern bikes.
- Auxiliary lights. Extra lamps for off-road or dark roads. Must be aimed and switched separately.
Failure signs
- A dim or yellowed lens that reduces output.
- A bulb that has blackened or a filament that has sagged.
- A beam that points too high after a load change or a fork adjustment.
- Water inside the housing, causing fogging or corrosion.
- A flickering light from a loose connector or a failing LED driver.
- A blown fuse or a melted connector from a higher-wattage bulb.
Choosing a replacement
- Match the bulb type and wattage to the housing and the bike's wiring.
- For an LED upgrade, choose a unit designed for the reflector and check local rules.
- Check the charging capacity before adding high-power lights.
- Look for a beam pattern with a sharp cut-off, not just a high lumen figure.
- Replace the whole headlight unit if the reflector is damaged or cloudy inside.
Fit and compatibility
- Do not touch a halogen bulb glass with bare fingers. Grease shortens its life.
- Seat the bulb correctly in its keyway and check the retaining clip.
- Set the aim on level ground with the bike loaded as usual.
- Check that the connector is fully seated and the rubber boot seals.
- After fitting, check low beam, high beam and the dash indicator.
Testing and care
- Clean the lens with water and a soft cloth, not a solvent.
- Check the aim after changing a tire, fork setting or rear preload.
- Keep the drain holes in the housing clear.
- Replace a cloudy lens rather than polishing through the UV coating.
- Check the charging voltage if the light flickers at idle.
Safety and limits
A badly aimed headlight can blind oncoming traffic. Aim it correctly.
Do not exceed the wiring's rating with a higher-wattage bulb. Melted wiring can cause a fire.
If the headlight fails at night, stop somewhere safe. Do not ride on a dark road without a light.
Questions
Can I fit an LED bulb to a halogen housing?
Sometimes, but the beam pattern often suffers. Choose an LED designed for the housing, check local rules and set the aim afterwards.
Why is my headlight dim at idle?
Many bikes do not charge fully at idle, especially with the light on. A weak battery or a charging fault makes it worse.
How do I aim a headlight?
Put the bike on level ground at a set distance from a wall, mark the beam cut-off and adjust to the manual's height. Load the bike as you normally ride.
Do I need to upgrade the wiring for a brighter bulb?
Often yes. Higher wattage means more current, and old connectors and switches add resistance and heat.