Helmet vents are sold as a number: this many intakes, that many exhausts. The count tells you almost nothing. What matters is whether air can enter, travel across your head and leave, and whether the openings that let air in also let noise and water in. Ventilation is a path, not a feature list.
Vent positions and what they do
| Vent | Target | Best use | Trade-off |
|---|---|---|---|
| Chin | Face and visor interior | Cooling and clearing fog | Cold air and water in rain |
| Brow | Forehead and liner channels | Sweat control in heat | Can dry eyes and add noise |
| Top and side | Crown channels | Highway cooling | Lets water in if left open |
| Rear exhaust | Pulls air through the liner | Makes intakes effective | Needs clear internal path |
| Visor crack | Direct flow to the face | Slow traffic and stationary heat | Rain, noise and insects |
Air needs a pressure difference
Air moves through a helmet because pressure is higher at the front than at the rear. In clean air, the front of the helmet is a high-pressure area and the rear is lower, so an intake at the brow and an exhaust at the back can establish a flow. Behind a windscreen, that pressure map changes, and vents that worked on a naked bike may do nothing.
This is why two riders can disagree about the same helmet. Height, screen, posture and speed all move the pressure points. A vent that is effective at highway speed may be irrelevant in traffic. Judging ventilation from a showroom or a short test ride is difficult, and judging it from a spec sheet is impossible.
The vent map
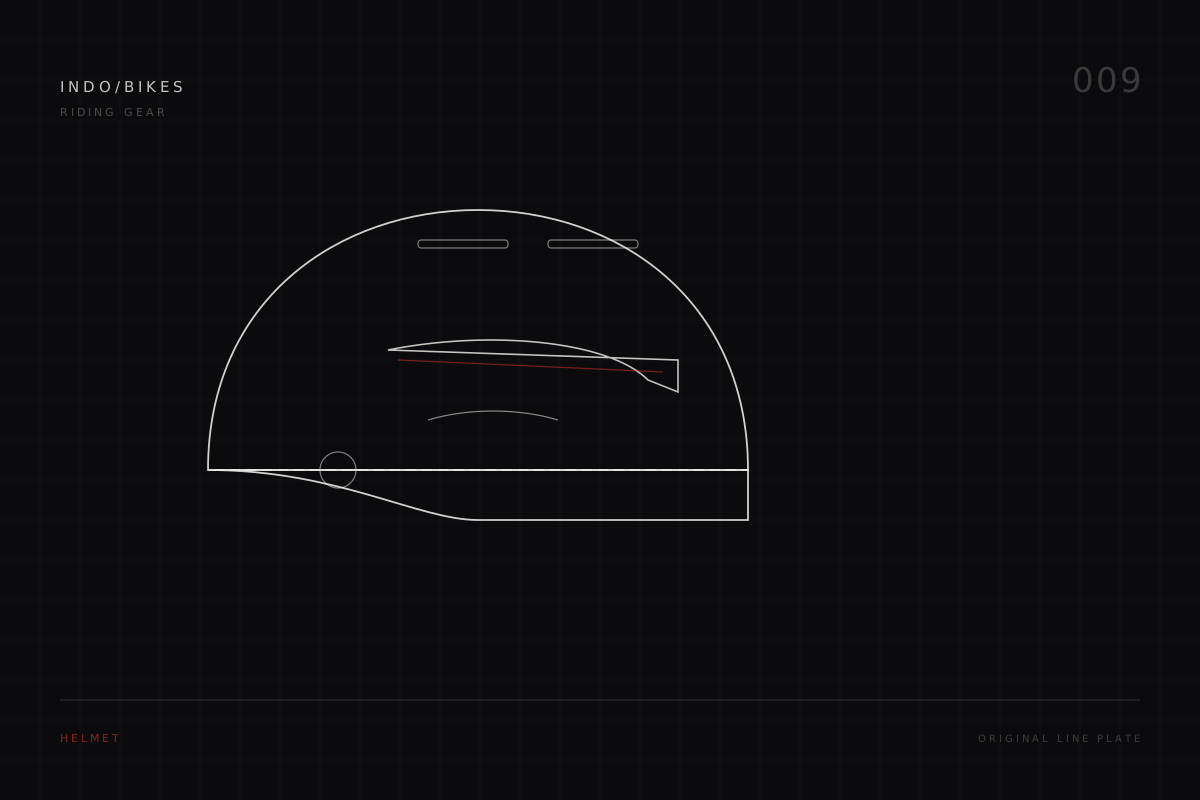
Chin vents direct air toward the face and the back of the visor, which helps with fogging and cooling. Brow vents feed air across the forehead, where sweat matters most. Top and side intakes feed channels moulded into the liner. Rear vents are exhausts, and they matter as much as the intakes because trapped air has to leave.
A helmet with large intakes and a blocked or poorly shaped exhaust will feel stuffy. A helmet with modest openings but a clear path through the liner can feel cooler. The internal channel design, not the size of the hole on the outside, determines where the air actually goes.
Chin vents, breath and fog
The chin vent has two jobs: cool the face and keep the visor clear. Air aimed at the inside of the visor reduces the humid layer that forms when you breathe out. In cold or wet weather, that same air can be uncomfortable, which is why most chin vents close or deflect.
A chin curtain changes the picture. It reduces turbulence and noise around the neck but can also reduce the airflow that clears the visor. Riders who fog easily often remove the curtain or choose a helmet with a strong chin vent and a visor insert. The two solutions interact.
Why vents feel useless at low speed
Airflow rises with speed, so a vent that is dramatic at 100 km/h may be undetectable at 30 km/h. In hot, slow traffic the helmet relies on the visor being cracked open and on the liner's ability to move moisture. No vent design fixes stationary heat.
This is the honest limit of ventilation marketing. If your riding is mostly slow urban trips in a tropical climate, an open visor, a thin liner and a light-coloured shell will do more than an extra intake. If your riding is sustained highway speed, the internal path and the exhaust matter far more.
Noise, rain and dust
Every open vent is a path for noise and water. A vent that whistles at speed can be more tiring than the heat it relieves. In heavy rain, open top vents can drip onto the liner, and chin vents can direct water at the face. Close what you do not need and check the seals.
Dust and insects follow the same routes. Some helmets use foam filters behind the vents; these clog and need cleaning. If the filter is missing or disintegrates, the vent becomes a direct hole into the liner. Check it when you clean the helmet.
Testing and maintaining vents
On a test ride, hold a hand near each vent in turn to feel the flow, and try the helmet behind your own screen at your normal speed. Check that the controls move with gloves on and that they stay where you set them. A vent that closes itself at speed is worse than no vent.
Clean the vents with the liner removed, following the maker's instructions, and do not enlarge or drill openings. The shell and liner are part of the approval, and modifying them can compromise both the structure and the certification. Replace damaged vent covers rather than sealing them with tape.
Checklist
- Test the helmet behind your own screen at your normal cruising speed.
- Feel the flow at each intake and check that the rear exhaust is open.
- Operate every vent control with gloves on.
- Check that the vents stay in the position you set.
- Inspect foam filters and clean or replace them.
- Close top vents in heavy rain and check for drips.
- Do not drill or enlarge vents to improve airflow.
Questions
Do more vents mean a cooler helmet?
No. The internal path and the exhaust matter more than the number of openings. Large intakes with nowhere for the air to go can feel stuffy, while a modest but well-designed channel can work better. Test the specific helmet on your bike.
Can I add vents to my helmet?
No. Drilling the shell changes the structure and takes the helmet outside its approved configuration. If ventilation is inadequate, choose a different helmet rather than modifying the one you have.
Why does my visor fog even with the vents open?
Fog is about humidity and surface temperature, not just airflow. A chin vent helps, but a visor insert, a breath guard and cracking the visor open may do more. Check that the chin vent actually reaches the inside of the visor and is not blocked.
Should I close the vents in rain?
Close the top and side intakes if water is reaching the liner, and keep the chin vent where it helps clear the visor. Check the maker's guidance, because vent behaviour differs between models and some are designed to drain.