A motorcycle chain is a row of pin links and roller links joined into a loop. It runs over two sprockets and has to handle engine torque, suspension movement and road grit. It is cheap to maintain and expensive to ignore, because a worn chain wears the sprockets with it.
What it does
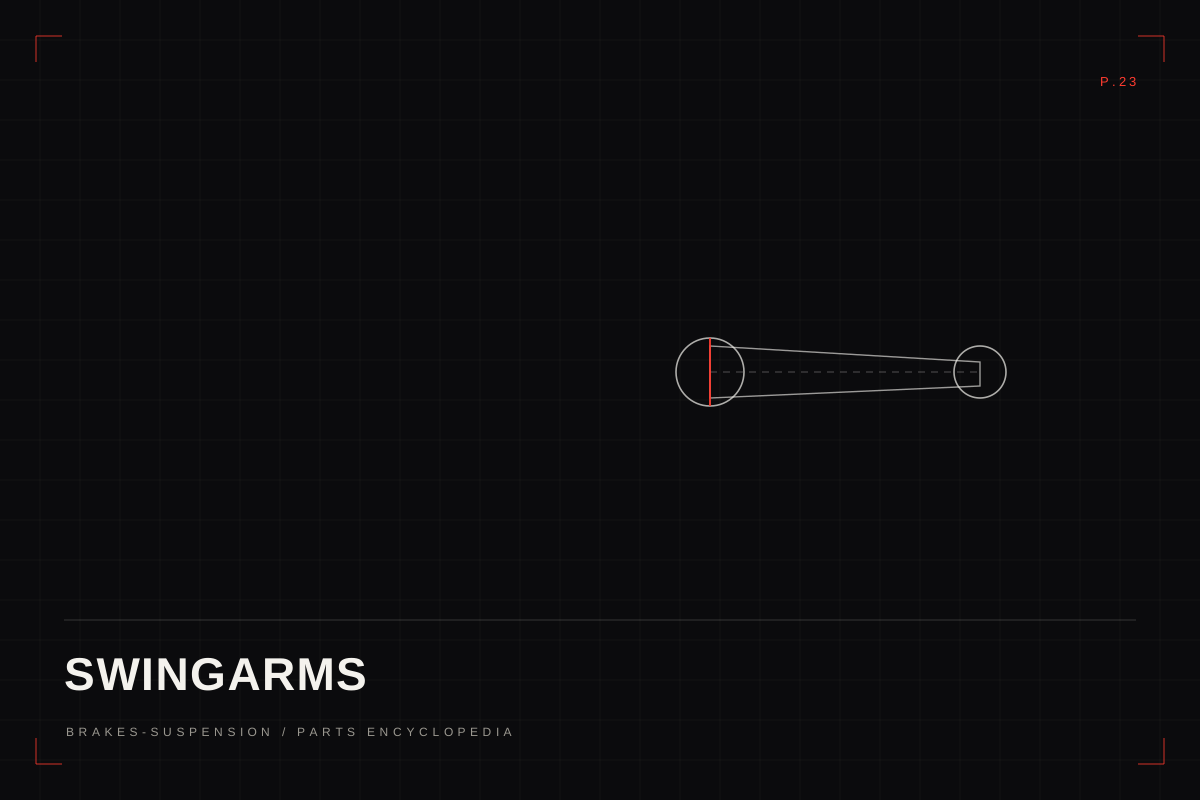
The chain transmits drive from the gearbox output sprocket to the rear wheel sprocket. It also allows the rear suspension to move without a sliding joint, which is why chain tension changes as the swingarm moves.
A chain has a pitch, the distance between pins, and a width that matches the sprockets. O-ring and X-ring chains seal grease into the pin and roller area. A sealed chain lasts longer but cannot be cleaned with a solvent that attacks the seals.
How it carries power
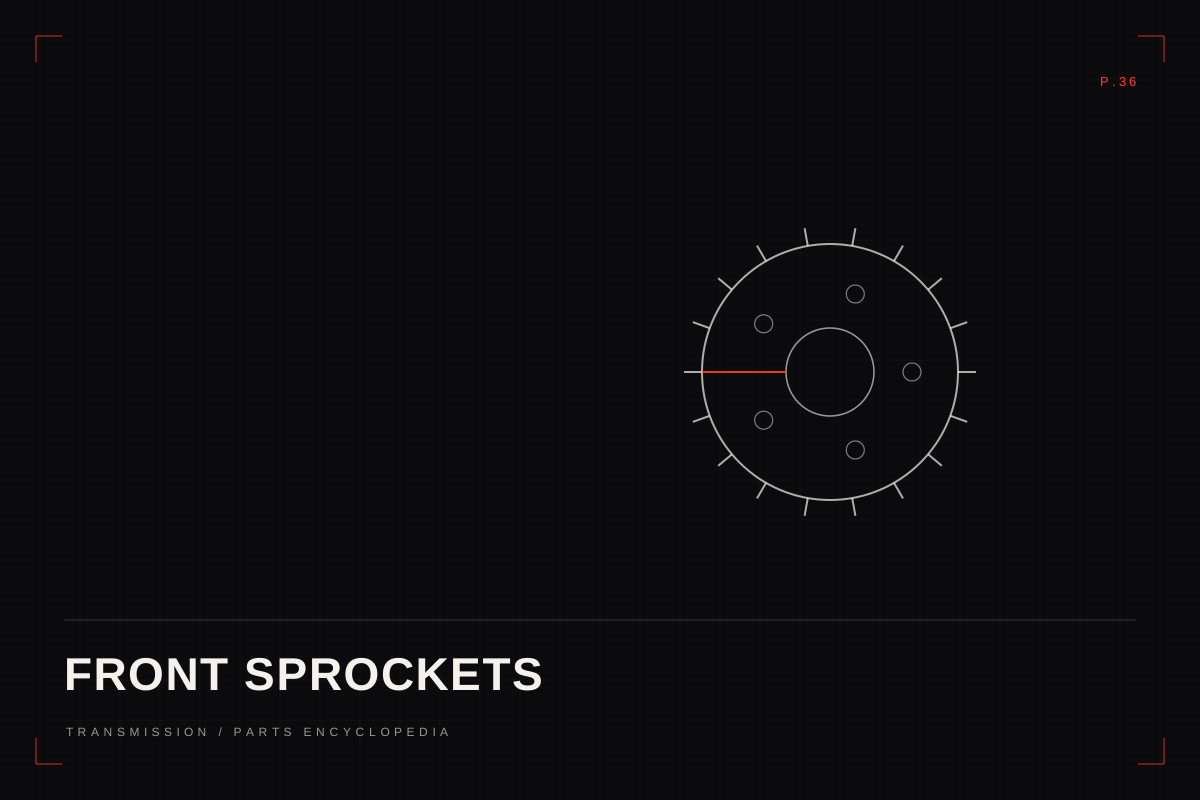
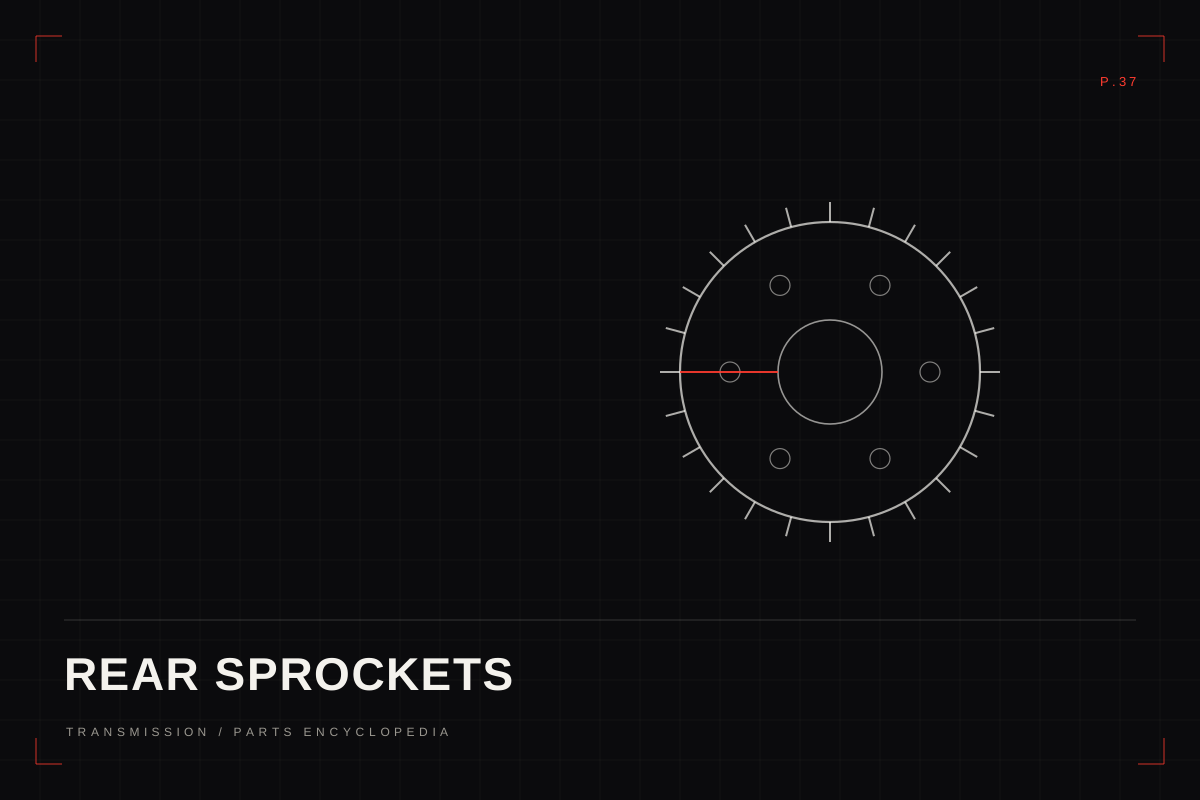
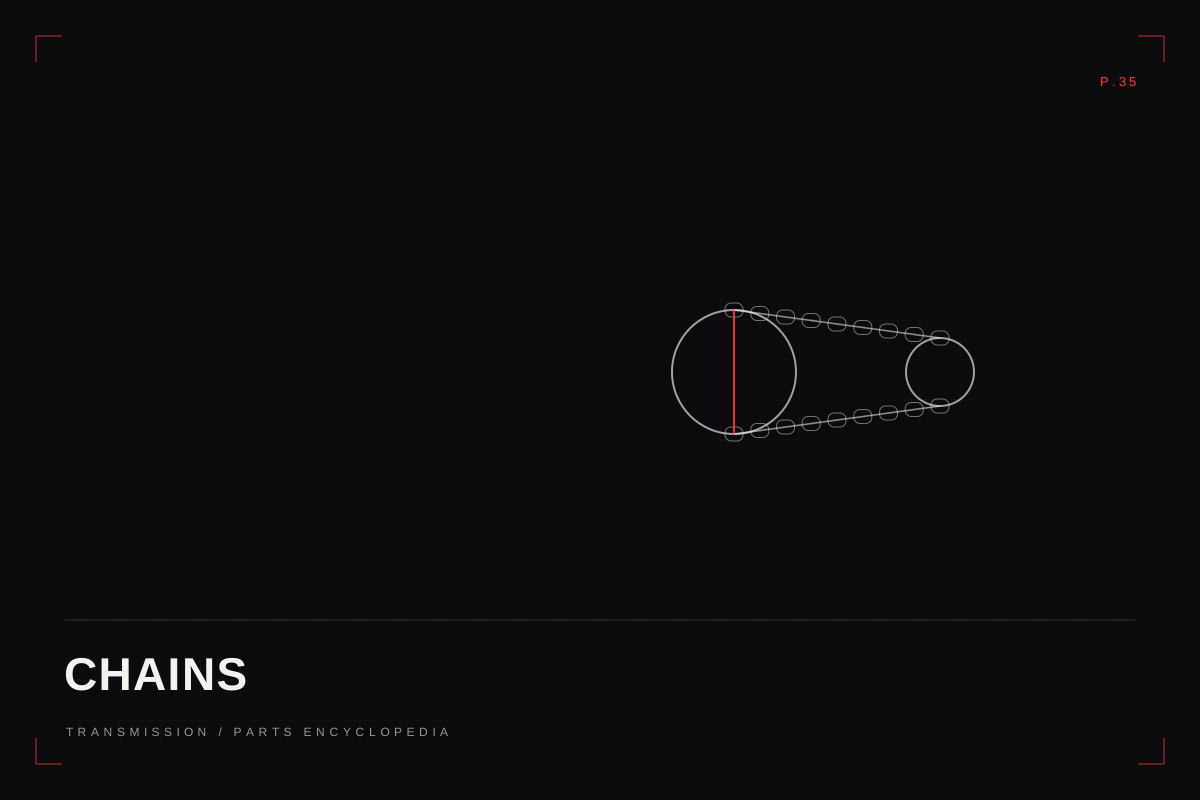
The front sprocket pulls the chain, and the chain pulls the rear sprocket. Each link articulates as it goes around the sprocket. That articulation is where wear happens: the pin and roller surfaces slowly lose material, and the chain lengthens.
A worn chain does not sit evenly on the sprocket teeth. It rides higher on the tooth, which wears the tooth shape and can cause the chain to climb off under load. That is why chains and sprockets are usually replaced as a set.
Types and variations
- O-ring chain. Rubber O-rings seal grease at each pin. Good for road use.
- X-ring chain. A different seal shape with less friction. Similar care to an O-ring chain.
- Non-sealed chain. Lighter and cheaper. Needs frequent lubrication and suits off-road or racing use.
- Standard and heavy-duty. Different tensile strength and plate thickness. Match the bike's power and weight.
- Clip and rivet master links. Clip links are easy to fit; rivet links are stronger and more secure.
Wear and failure signs
- More than the specified slack, measured at the tightest point.
- Tight and loose spots when the wheel is turned. A tight spot can snap a chain.
- Seized links that kink instead of flexing.
- Rust on the plates or a dry, shiny roller surface.
- Hooked or sharp sprocket teeth.
- A chain that can be pulled away from the rear sprocket by more than a few millimetres.
Choosing a replacement
- Match pitch, width and link count to the bike. A longer chain may be needed with a larger rear sprocket.
- Choose a sealed chain for road use and a non-sealed chain only where the maintenance fits the use.
- Replace the chain and both sprockets together if the sprockets are hooked or the chain is badly worn.
- Use a rivet master link for high-power bikes. Clip links can be dislodged.
- Buy from a seller who can confirm the chain is genuine. Counterfeit chains fail early.
Fit and compatibility
- Check the chain length against the old one before fitting.
- Route the chain correctly around the front sprocket and through the guide.
- Set slack with the bike on the ground and loaded as the manual specifies. Swingarm angle changes tension.
- Check alignment with the adjusters and a straight edge.
- Turn the wheel and check for tight spots before riding.
Inspection and care
- Clean and lubricate at the interval, more often in rain or dust.
- Use a chain cleaner that is safe for O-rings, then a proper chain lubricant.
- Check slack after the first ride on a new chain and at every service.
- Do not use a pressure washer directly on the chain.
- Replace the chain when it is worn out, not when it breaks.
Safety and limits
A snapped chain can lock the rear wheel or hit the rider. Replace a worn chain before it fails.
Do not set the chain too tight. It loads the gearbox bearing and suspension.
Keep fingers away from the sprocket and chain when the engine is running or the wheel is turning.
Questions
How often should I adjust the chain?
Check it at every service and after the first few rides on a new chain. Adjust when slack is outside the manual's range.
How do I know the chain is worn out?
Measure the length over a set number of links, or check how far the chain lifts off the rear sprocket. A chain with tight spots also needs replacement.
Can I replace only the chain?
If the sprockets are in good condition, yes. If they are hooked or the chain was run dry, replace all three.
What is the correct slack?
The manual gives a figure, usually measured at the midpoint between sprockets with the bike on the ground. Do not guess from how it looks.