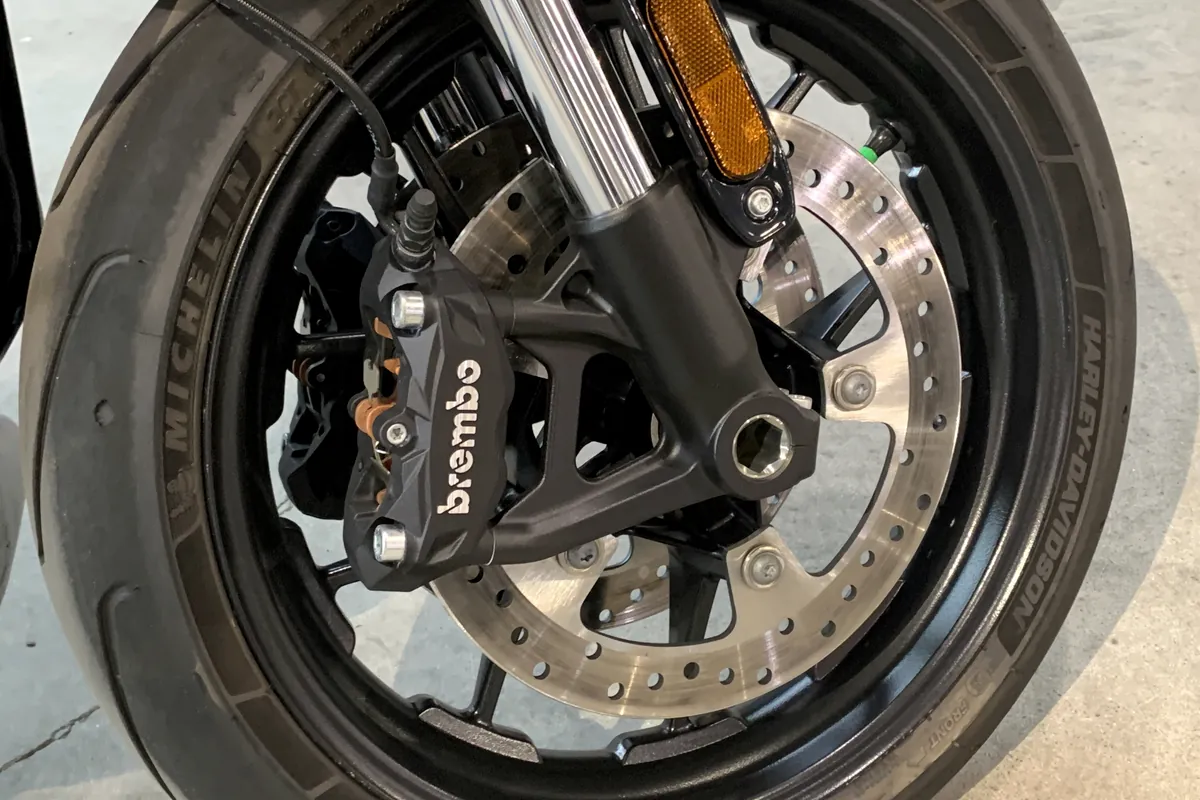
A brake pad is a steel backing plate with a friction material bonded to one face. Two pads sit either side of a disc inside the caliper, and the pistons push them together. Everything the rider feels at the lever passes through that small contact patch, so pad condition is not a detail to leave until the next service.
What it does
The pad slows the wheel by rubbing against the disc. Kinetic energy turns into heat, which goes into the pad, the disc and the surrounding air. The pad also insulates the caliper piston from some of that heat, which is why the backing plate and any shim matter.
Pad thickness is a service limit, not a suggestion. Once the friction material is thin, heat reaches the backing plate faster, the piston travels further out of the caliper and the chance of a pad separating from its plate rises.
How it works
Hydraulic pressure from the master cylinder pushes the caliper pistons outward. The pistons press the pads onto the disc. The slight flex in the caliper and the seals allows the pads to retract a fraction when pressure is released, so the wheel turns freely.
The pad only works at full strength after it has matched the disc surface. New pads need a bed-in period of moderate, repeated braking so a thin, even transfer layer forms on the disc. Hard stops from cold, before that layer exists, can leave patches and cause judder.
Types and variations
- Organic pads. Resin bonded material. Quiet, gentle on discs and good from cold. They wear faster and can fade when worked hard.
- Sintered metal pads. Metal particles pressed and sintered. Strong bite, consistent when hot and long lasting. They can be noisier and harder on a worn disc.
- Ceramic pads. Low dust and quiet in road use. Not a racing compound, whatever the packaging suggests.
- Semi-sintered. A mix of organic and metal. A compromise between cold feel and heat resistance.
- Racing and off-road pads. Compounds chosen for a narrow temperature window. Often poor from cold and unsuitable for traffic.
Wear and failure signs
- Friction material below the maker's minimum thickness. Measure, do not estimate from the outside edge.
- Tapered wear, where one end of the pad is thinner. Usually a sticky piston or a caliper that is not floating properly.
- A scored or grooved pad face from a worn disc or trapped grit.
- Oil, fork fluid or brake fluid on the friction material. Contaminated pads cannot be cleaned back to full performance.
- A cracked or separated friction layer, often after heavy heat cycles.
- Squeal at light pressure, or a grinding noise with a rough lever feel.
Choosing a replacement
- Buy the pad shape specified for the caliper, not just the bike model. Calipers change within a model run.
- Match the compound to the use. A road bike in traffic rarely benefits from a race pad that needs heat to work.
- Check the disc wear at the same time. New pads on a disc below minimum thickness will not fix poor braking.
- Replace pads as a pair per caliper and, on a road bike, both calipers together so the balance stays the same.
- Buy pads with a known friction rating and a proper backing plate. Very cheap pads can have inconsistent friction and poor shims.
Fit and setup
- Clean the caliper pistons before pushing them back. Grit pushed past the seals causes leaks.
- Open the reservoir cap or bleed nipple slightly when pushing pistons back, so fluid has somewhere to go.
- Fit any anti-rattle shim and spring the same way round as the original.
- Apply a small amount of brake grease to the backing plate ears and slider pins, never to the friction face.
- Pump the lever until the pads touch the disc before moving the bike. A soft lever after a pad change is trapped air or a pushed-back piston.
- Bed the pads in with a series of moderate stops from moderate speed, letting them cool between sets.
Inspection and care
- Check pad thickness at every service and after any long mountain descent.
- Look at both pads in each caliper. A hidden inner pad can wear faster than the visible outer.
- Do not spray brake cleaner into a sealed wheel bearing or onto painted parts.
- After riding through deep water or mud, test the brakes gently before relying on them.
- If the lever travels further than usual, check fluid level and pad wear before topping up.
Safety and limits
Brakes are a safety system. If you are unsure about piston condition, seal leaks or disc thickness, let a workshop do the work.
Never use oil or ordinary grease on friction material or the disc face.
A grinding brake or a lever that reaches the bar is a reason to stop riding, not to ride gently to the shop.
Questions
Do I have to replace pads in pairs?
Yes within a caliper, and both calipers on a road bike. Uneven pad age changes braking balance and can make the bike pull to one side under hard braking.
How long do motorcycle brake pads last?
It depends on the compound, the rider and the roads. A town commuter can wear a rear pad quickly through drag; a touring rider may go much further. Check thickness rather than counting kilometres.
Can I clean contaminated pads?
No. Once oil or fluid soaks into the friction material, it cannot be restored reliably. Replace the pads and find the leak.
Why do new pads squeal?
Some squeal is normal with certain compounds. Check that the shims are fitted, the disc is clean and the pads are not glazed. Persistent noise with poor performance needs inspection.